
****************************************
HUMBOLDT PARK, a recap…
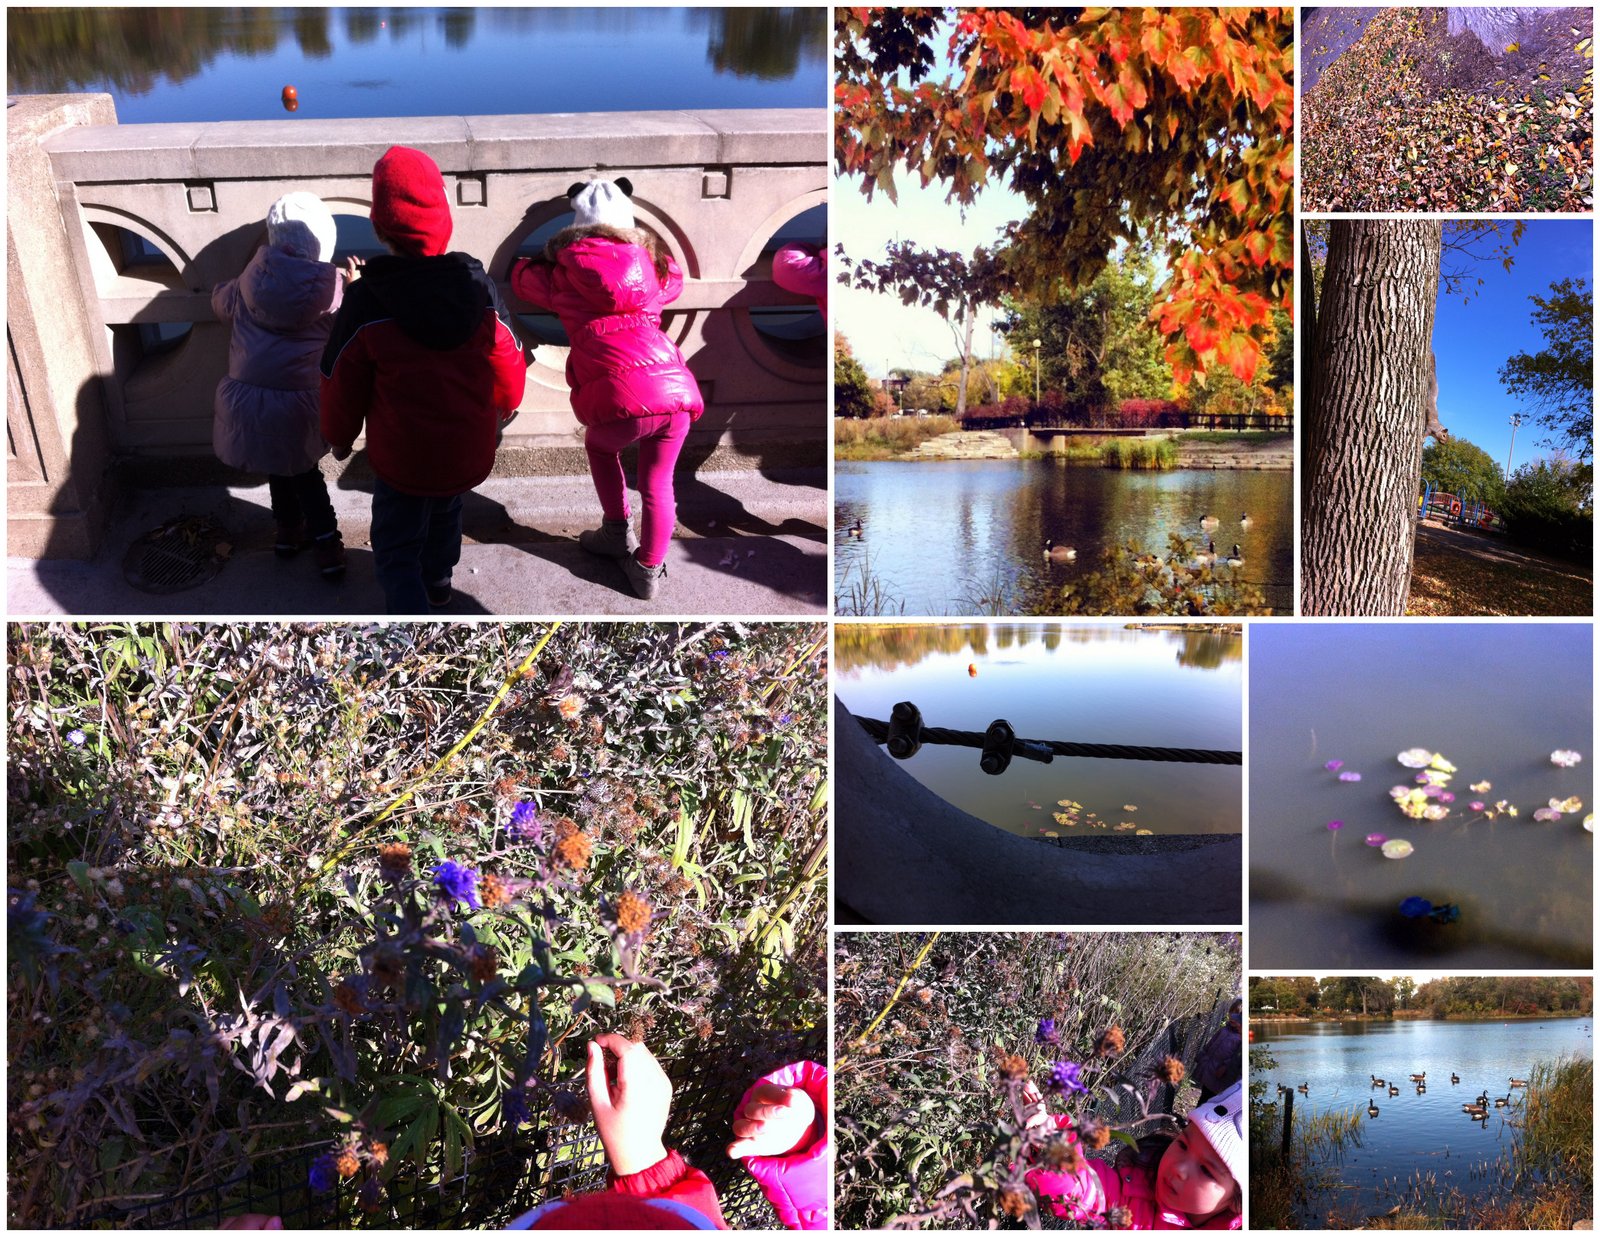
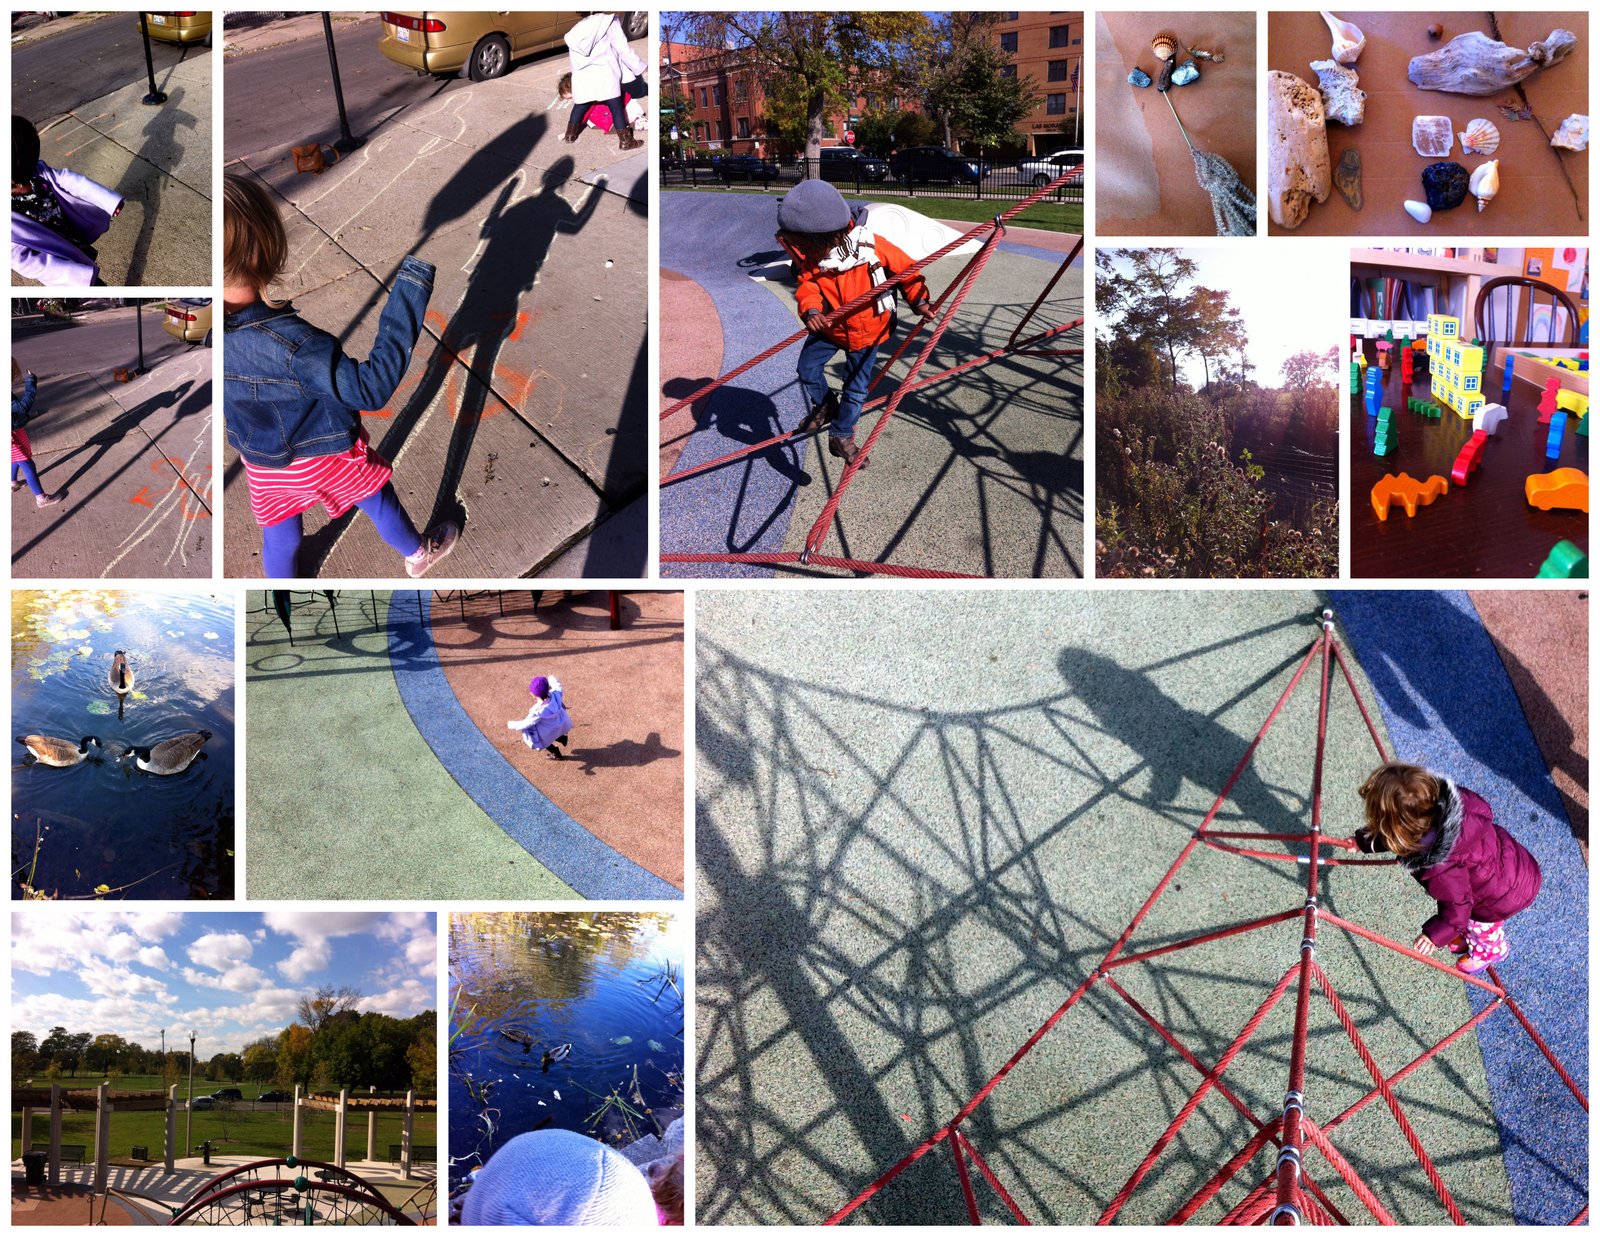
Humboldt Park is so beautiful right now…the playground at Evergreen and California is wonderful for gross motor development, hand strength, and balance. Children teach one another how to do new things, such as climb, slide, leap, and even play a hidden instrument. The Boathouse has clean public restrooms and a security guard, and the meander across the bridge and down into the pond / native planting areas allow for feeding wild birds. Be sure to stop at the wooded playlot as well–a whole different experience, though you’ll need to mind the tenacious, food-crazed squirrels!
****************************************
Our Parents READ! Four fun science recipes long-promised to Lindsay B…xo
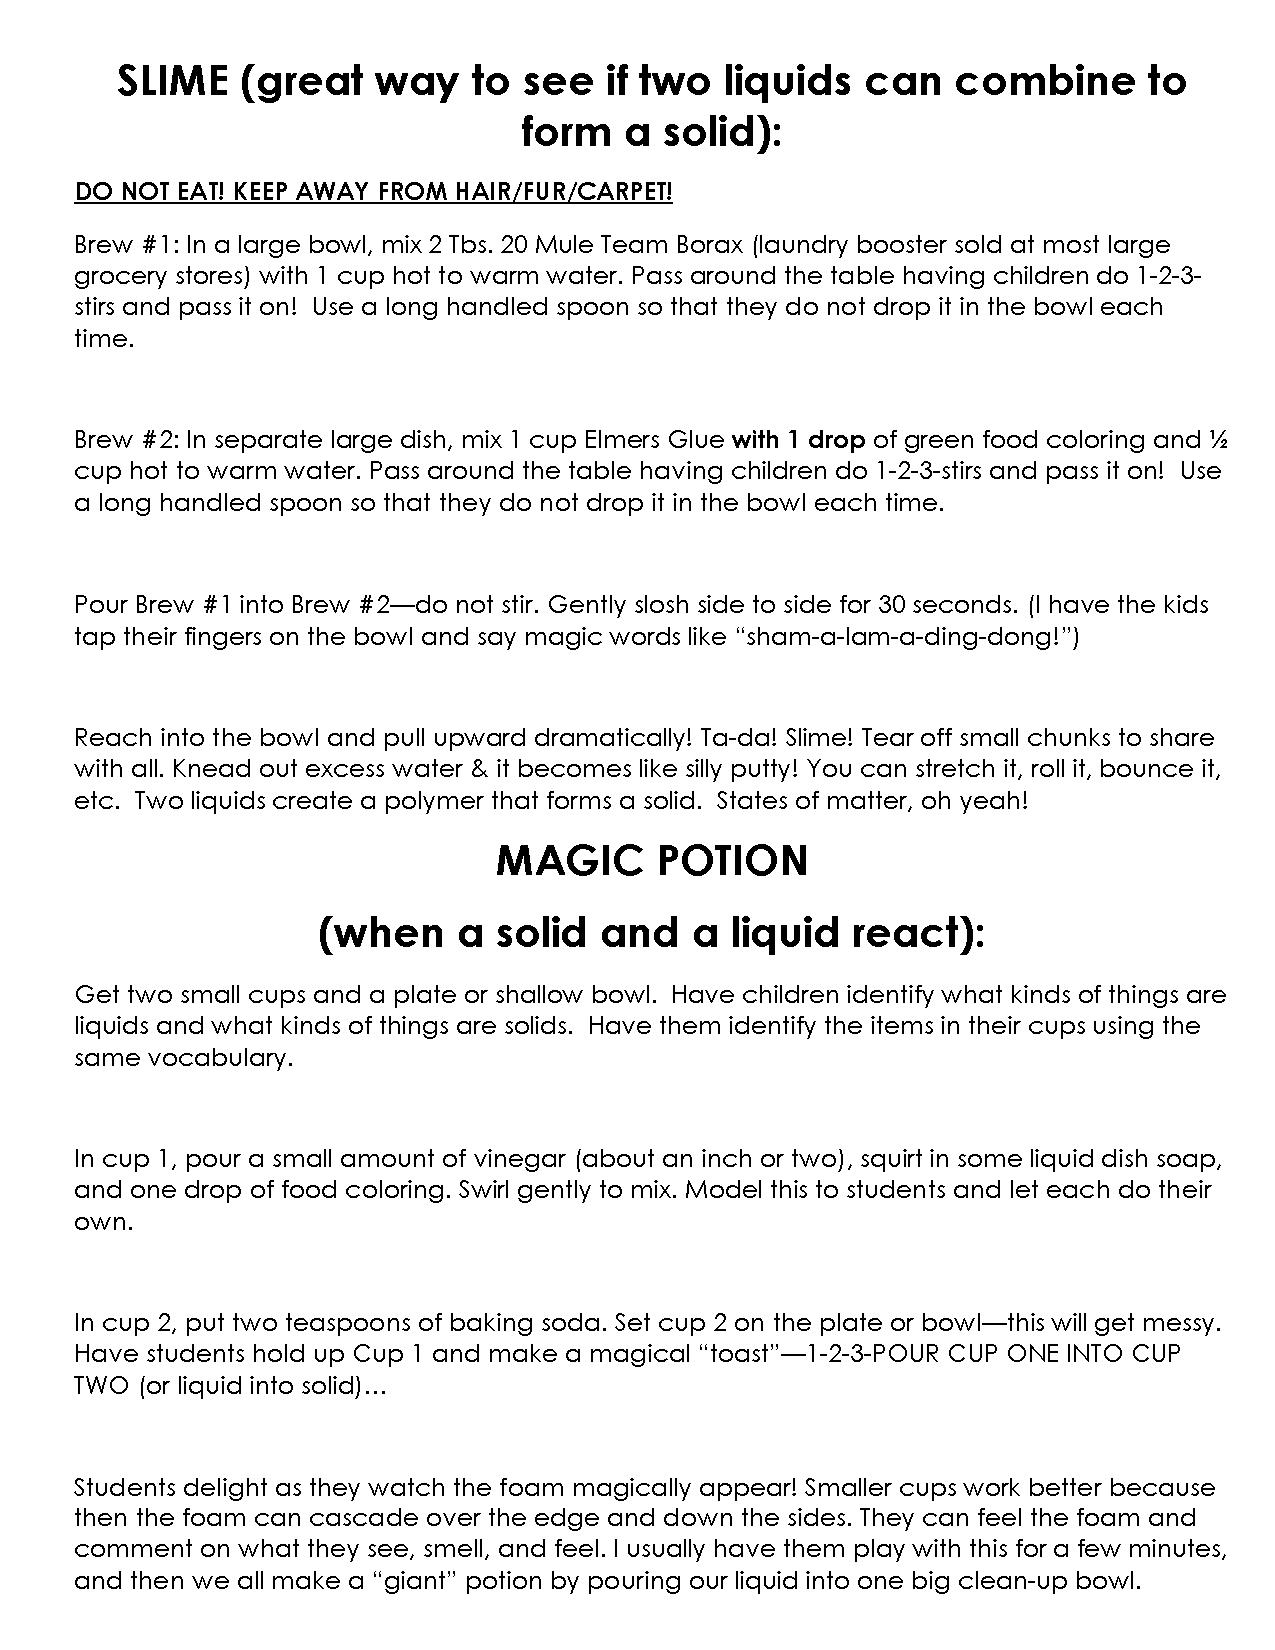 SLIME (great way to see if two liquids can combine to form a solid):
DO NOT EAT! KEEP AWAY FROM HAIR/FUR/CARPET!
Brew #1: In a large bowl, mix 2 Tbs. 20 Mule Team Borax (laundry booster sold at most large grocery stores) with 1 cup hot to warm water. Pass around the table having children do 1-2-3-stirs and pass it on! Use a long handled spoon so that they do not drop it in the bowl each time.
Brew #2: In separate large dish, mix 1 cup Elmers Glue with 1 drop of green food coloring and ½ cup hot to warm water. Pass around the table having children do 1-2-3-stirs and pass it on! Use a long handled spoon so that they do not drop it in the bowl each time.
Pour Brew #1 into Brew #2—do not stir. Gently slosh side to side for 30 seconds. (I have the kids tap their fingers on the bowl and say magic words like “sham-a-lam-a-ding-dong!”)
Reach into the bowl and pull upward dramatically! Ta-da! Slime! Tear off small chunks to share with all. Knead out excess water & it becomes like silly putty! You can stretch it, roll it, bounce it, etc. Two liquids create a polymer that forms a solid. States of matter, oh yeah!
MAGIC POTION
(when a solid and a liquid react):
Get two small cups and a plate or shallow bowl. Have children identify what kinds of things are liquids and what kinds of things are solids. Have them identify the items in their cups using the same vocabulary.
In cup 1, pour a small amount of vinegar (about an inch or two), squirt in some liquid dish soap, and one drop of food coloring. Swirl gently to mix. Model this to students and let each do their own.
In cup 2, put two teaspoons of baking soda. Set cup 2 on the plate or bowl—this will get messy. Have students hold up Cup 1 and make a magical “toast”—1-2-3-POUR CUP ONE INTO CUP TWO (or liquid into solid)…
Students delight as they watch the foam magically appear! Smaller cups work better because then the foam can cascade over the edge and down the sides. They can feel the foam and comment on what they see, smell, and feel. I usually have them play with this for a few minutes, and then we all make a “giant” potion by pouring our liquid into one big clean-up bowl.
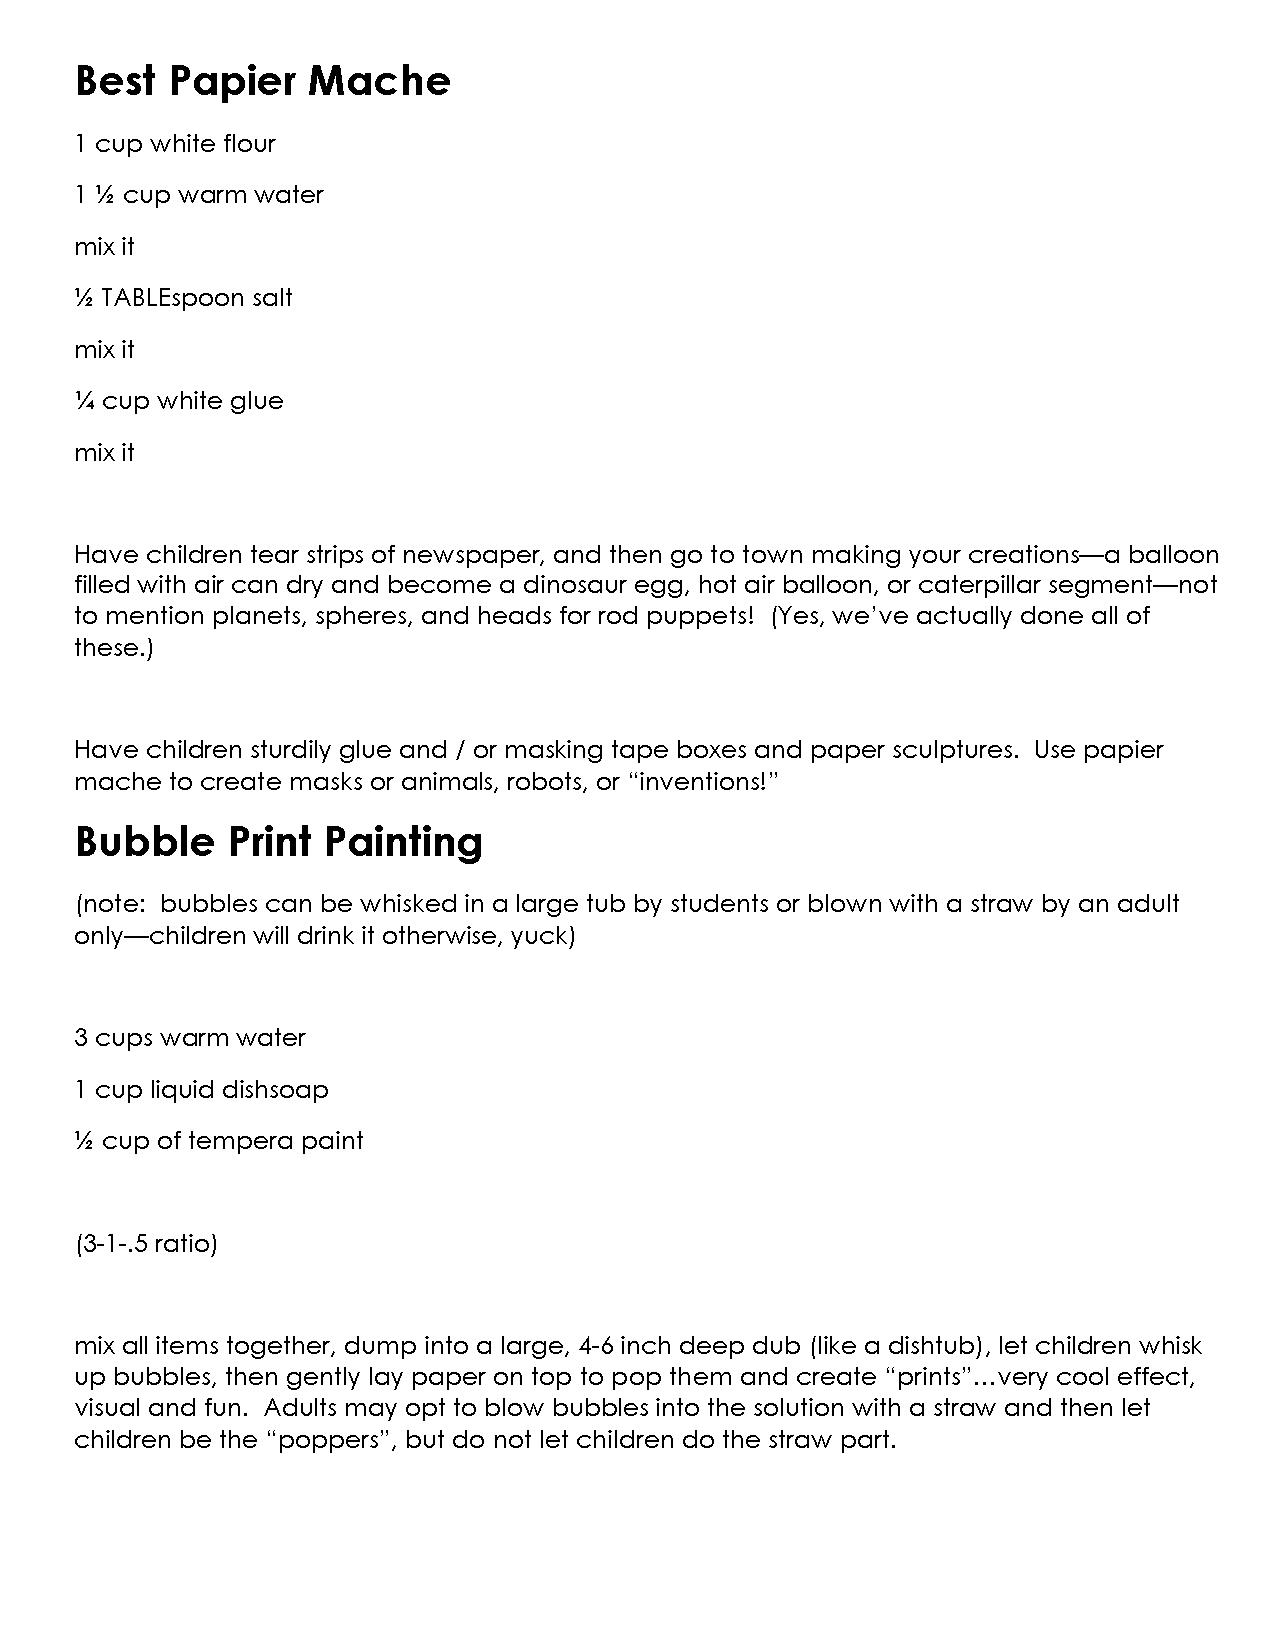
Best Papier Mache
1 cup white flour
1 ½ cup warm water
mix it
½ TABLEspoon salt
mix it
¼ cup white glue
mix it
Have children tear strips of newspaper, and then go to town making your creations—a balloon filled with air can dry and become a dinosaur egg, hot air balloon, or caterpillar segment—not to mention planets, spheres, and heads for rod puppets! (Yes, we’ve actually done all of these.)
Have children sturdily glue and / or masking tape boxes and paper sculptures. Use papier mache to create masks or animals, robots, or “inventions!”
Bubble Print Painting
(note: bubbles can be whisked in a large tub by students or blown with a straw by an adult only—children will drink it otherwise, yuck)
3 cups warm water
1 cup liquid dishsoap
½ cup of tempera paint
(3-1-.5 ratio)
mix all items together, dump into a large, 4-6 inch deep dub (like a dishtub), let children whisk up bubbles, then gently lay paper on top to pop them and create “prints”…very cool effect, visual and fun. Adults may opt to blow bubbles into the solution with a straw and then let children be the “poppers”, but do not let children do the straw part.
****************************************
Developing Dramatic Arts Appreciation at Home by Samara Harris Anderson
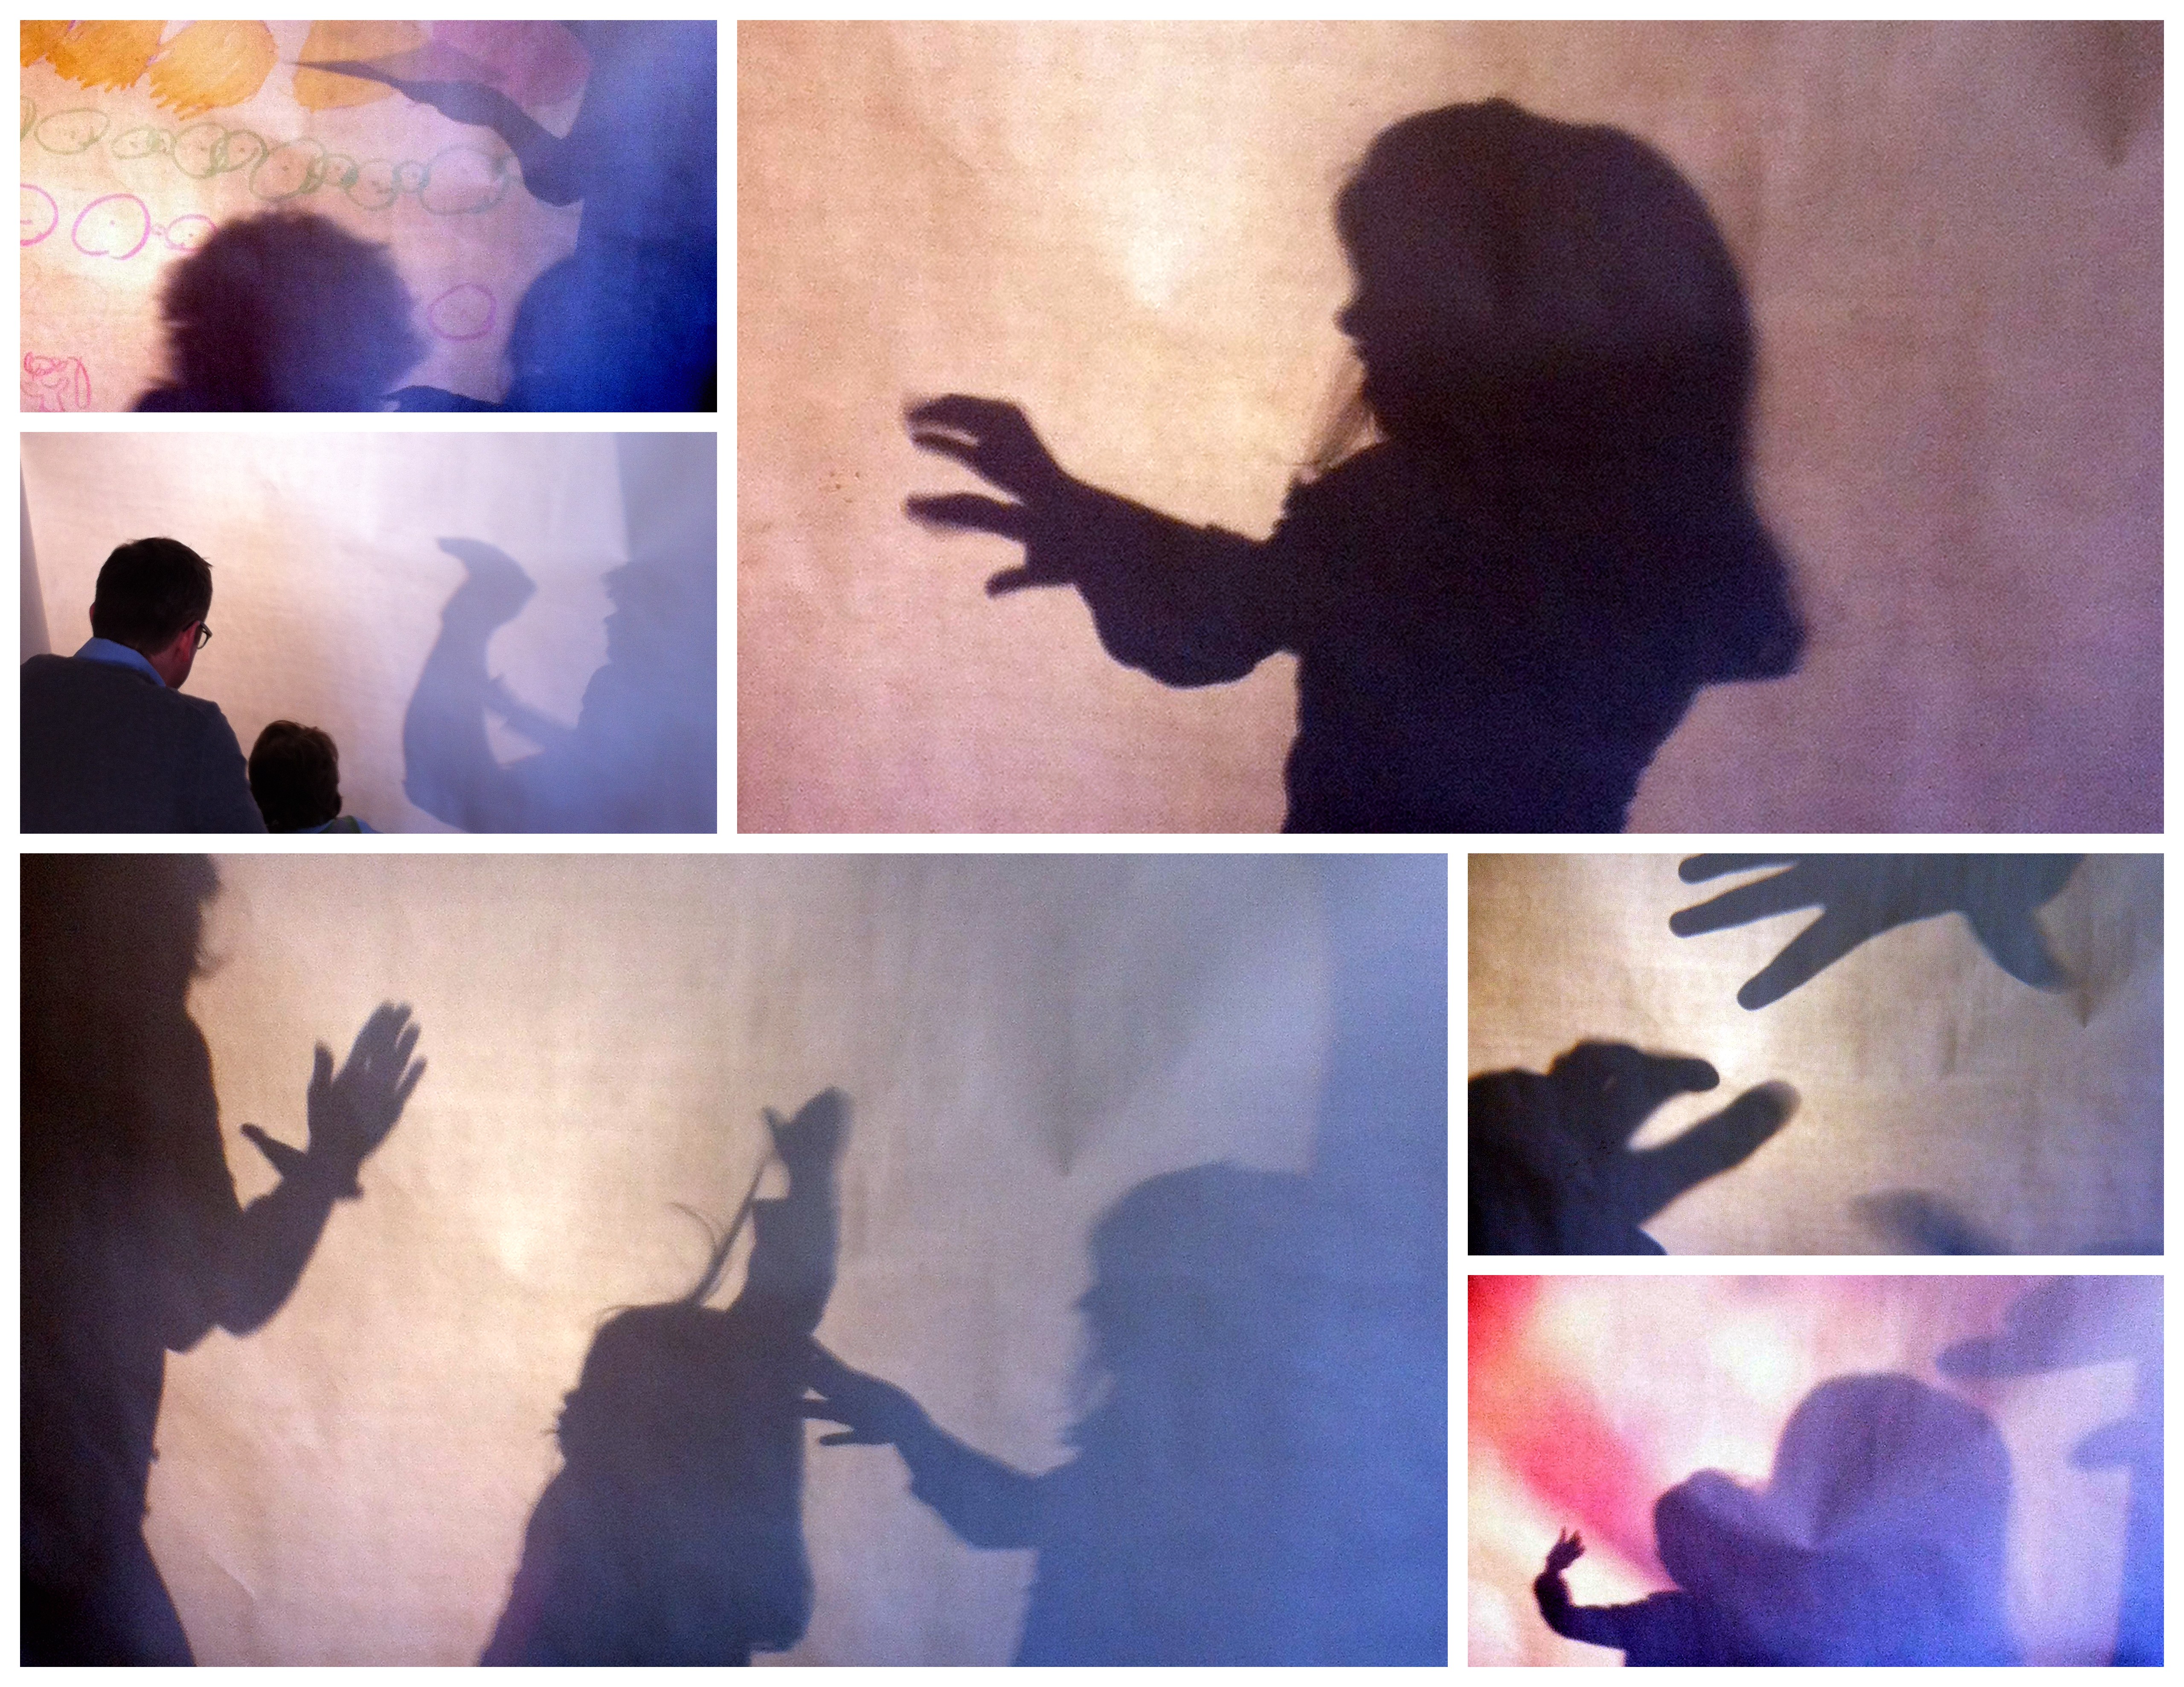
–look for opportunities to use everyday items as transformations…a giant box can be a really great catalyst for dramatic play and discussion…art supplies to decorate, finding sound effects or making them during your play, and letting your child lead you on his or her adventure helps develop awareness of and appreciation for theatre arts
–jukebox…play a wide variety of music for 30 seconds to one minute and ask your child to dance how the music makes him or her feel. You can also say FREEZE and tell your child to freeze like a different object or animal or person, for example, FREEZE LIKE AN ICE CREAM CONE! FREEZE LIKE A NINJA! FREEZE LIKE AN ICE SKATER! etc. Take turns being the “dancer” and the “freezer”—they love this! Consider making shapes and letters with your body as well, even if they don’t come out perfect…and add high and low levels…FREEZE LIKE A CIRCLE ON THE FLOOR! FREEZE LIKE A TALL LETTER T IN THE AIR!
–play charades…tried and true game, you don’t need cards but you can work with your child to make your own if you want…keep it simple, with basic activities such as brushing your teeth, putting on your shoes, washing your hands, petting an animal, holding a baby, painting a picture, etc.
–go to an age-appropriate play or musical. Talk about the “rules” of being in the audience and the special and important role the audience plays. Chicago has some amazing children’s theatre—get out there and have fun watching and participating! Prepare your child by discussing lights, costumes, what characters you might see and how they might act, what kind of sounds and music there might be, noticing the sets and the staging, and if you feel comfortable, talk about the roles of people backstage like the director, stage manager, house manager, etc.
****************************************
North Park Village Nature Center by Elizabeth Salahuddin
Looking for something new to do, in the city, with your little nature enthusiasts? We recently discovered The North Park Village Nature Center and wanted to tell you more about it.
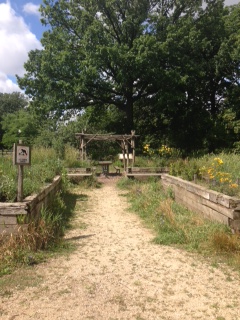
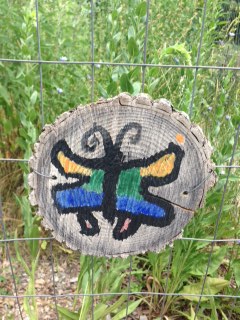
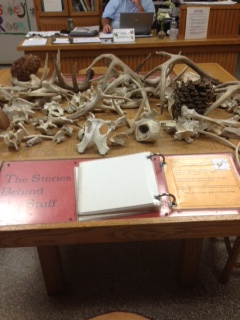
A short drive from Logan Square, located at 5801 N. Pulaski, the nature center includes a forty-six acre nature preserve and educational facility. The center is very rustic, currently showcasing a live caterpillar metamorphosis display, a table of animal fossils that the kids can touch and feel, an information and clippings area about the various habitats and some really pretty birds nests. Pick up a trail guide or ask one of the friendly volunteers to show you around and how to get out to the trails.

We followed the ‘main loop’ and saw: spiders (big ones!), butterflies, a fuzzy brown-and-black caterpillar, and lots of birds–no deer along the trail the day we visited, but we did see one roaming around the parking lot!
We spent about 90 minutes at the center and on the trail before it was time to head home. There is a ton to see and do, the kids loved it and for mom/dad/care giver, it’s the kind of place where the kids can really run and do their own thing without much worry.
For your visit:
* Wear supportive, comfortable walking shoes, preferably with socks. The gravel trails are dusty and some trails are mulch or in some cases, mud. Also, lots of tree logs along the path to climb on.
* Pack bug protection, sun screen and a hat.
* Bring a picnic or snacks. There are plenty of picnic tables outside.
* The public restrooms inside the center are neat and tidy and also have a changing table.
The center is open year round from 10 am – 4 pm daily. It also offers mostly free classes for the kids or as a family. A class description sheet is located inside the education facility.
If you haven’t already, we hope you have a chance to check out this hidden gem so close to home!